Making mini worm-composting bins was a great Cub Scout Bear Den activity, but it would be appropriate for all kids, say 6-12. Ondine was in charge of the program. She’d tried vermicomposting once before, using regular feral earthworms that she dug up from the garden, and it was an earthworm tragedy. There were, as far as we could tell, no survivors as the rotting mass festered away. It turned out that you need special worms for worm composting: Red Wigglers or Eisenia fetida. Those are the guys that eat food scraps and turn them into wonderful worm poop, or, as the grown-ups call it, “worm castings.”
(This scene coming soon to your home. A closed bathroom door. You knock. “What are you doing in there?” You ask. The answer comes back: “I’m casting!”)
Important note: this project creates tiny worm bins. Think of them as starter vermicompost bins, good for about a week or so before you have to move the worms into a larger bin built on the same principles. Or, you could just release the worms into your garden, where they will be perfectly happy.
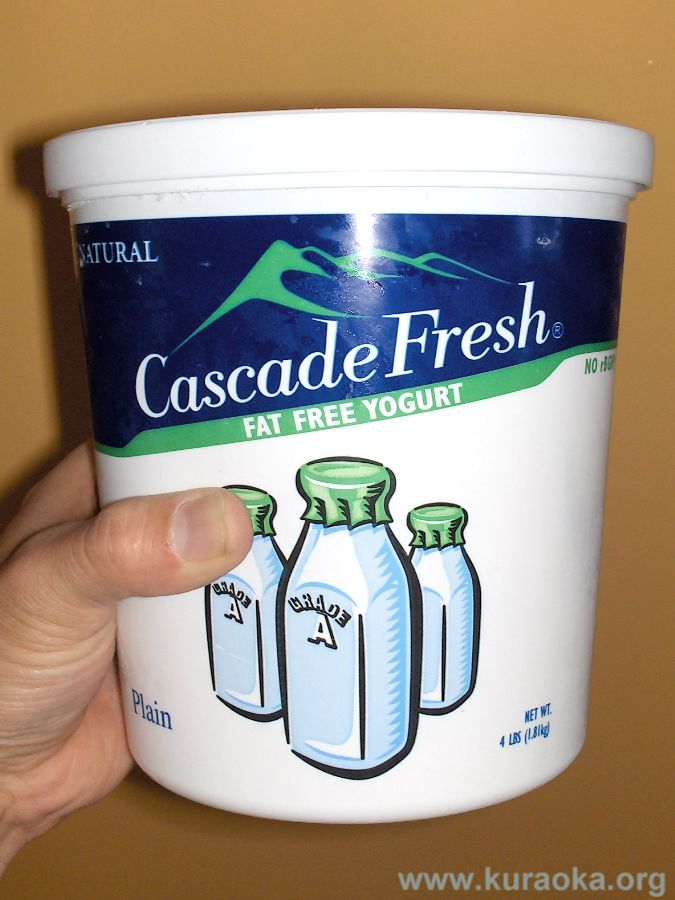
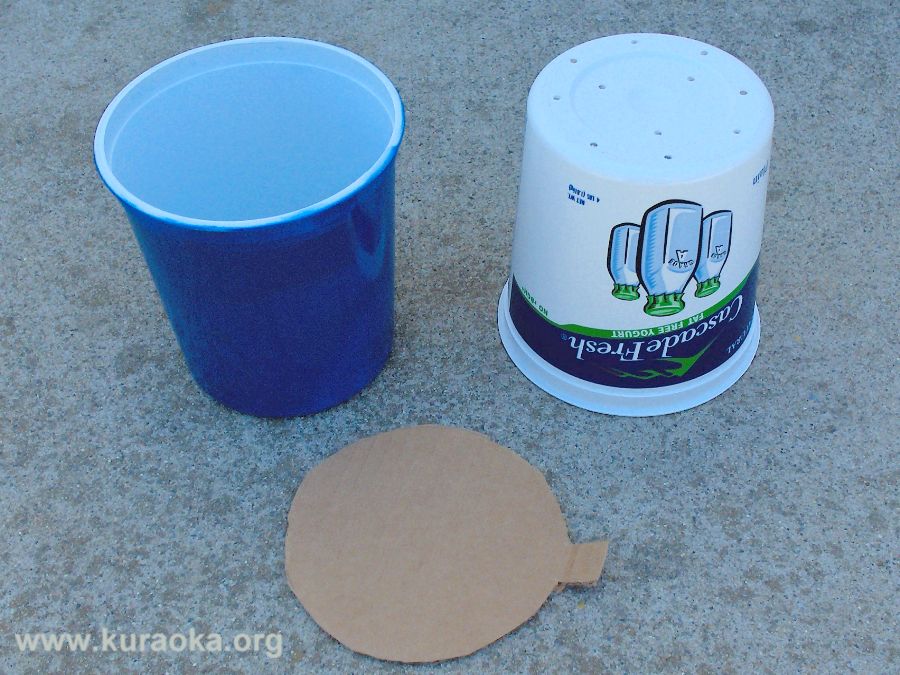
We needed to supply up to nine kids, so we used 18 plastic containers that previously held four pounds each of
Cascade Fresh nonfat plain yogurt, two containers per bin, one inside the other.
These are good-sized, nestable, food-grade tubs, measuring roughly 6” in
diameter at the top and 6-1/2” tall, and comfortably holding over a half-gallon
of liquid. Yes, we had 18 of them – we go through this yogurt by the case, which
was the best thing about them: they were basically free. You can click on any of
the photos to view them full-size.
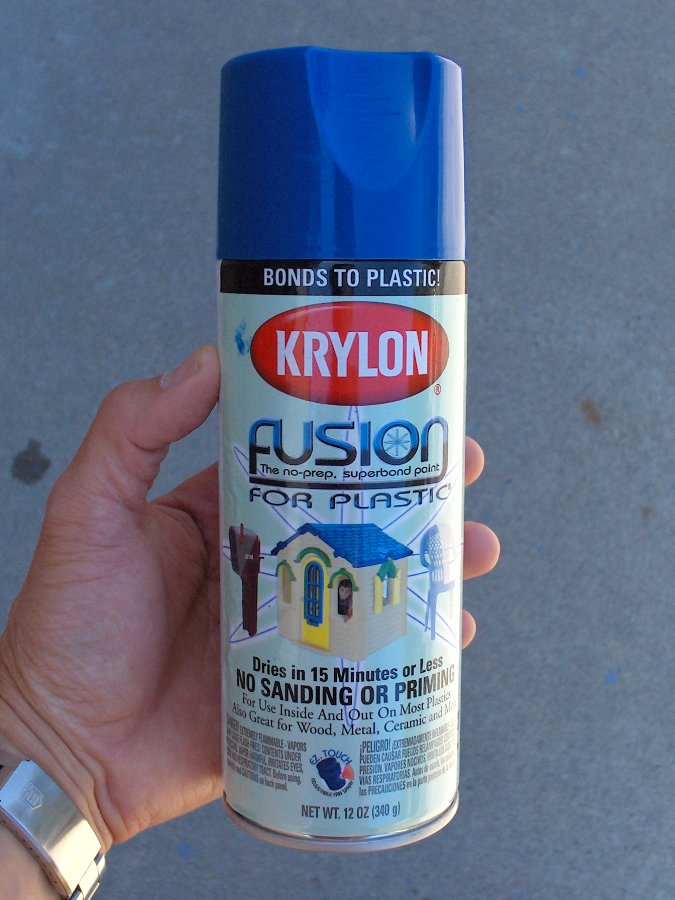
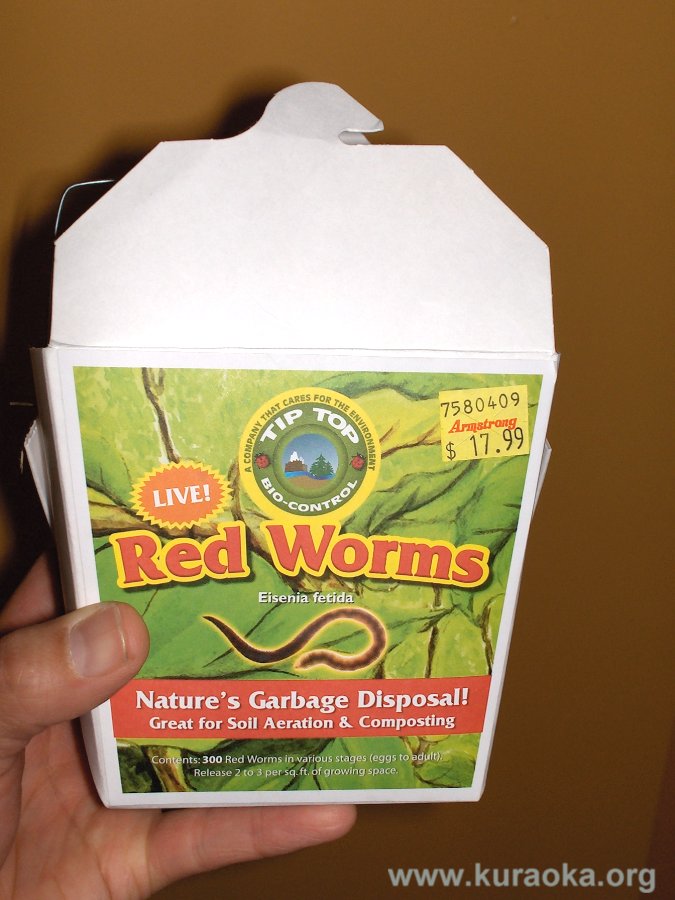
Ondine bought a small box of 300 Red Wrigglers, which is about the smallest
container available. Live red worms are available at most nurseries and even
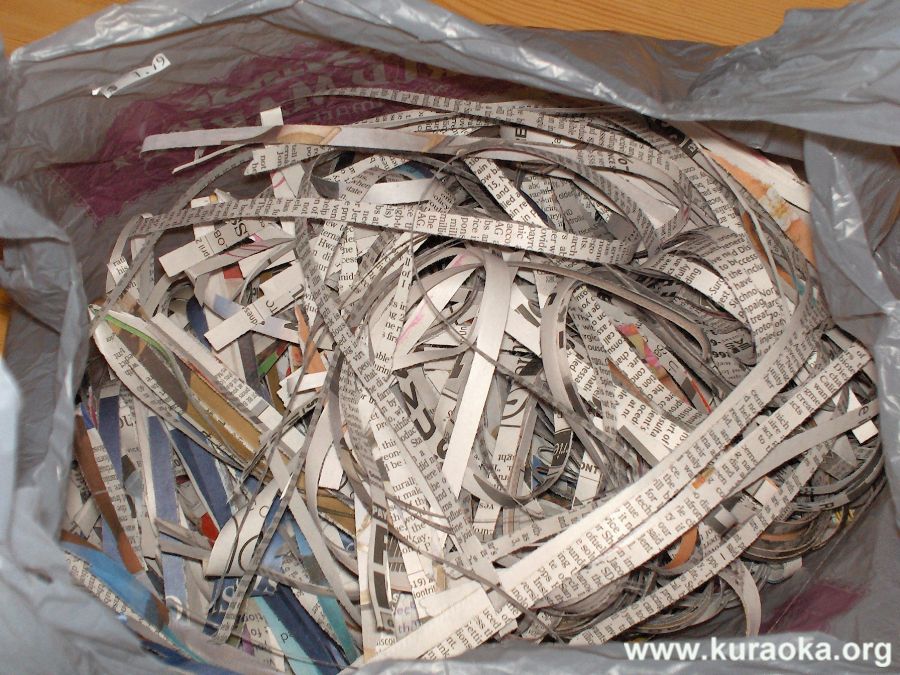
some pet stores and bait shops. We used a power shredder to shred enough newspaper to fill about six grocery bags
– be careful not to shred any coated or shiny paper.
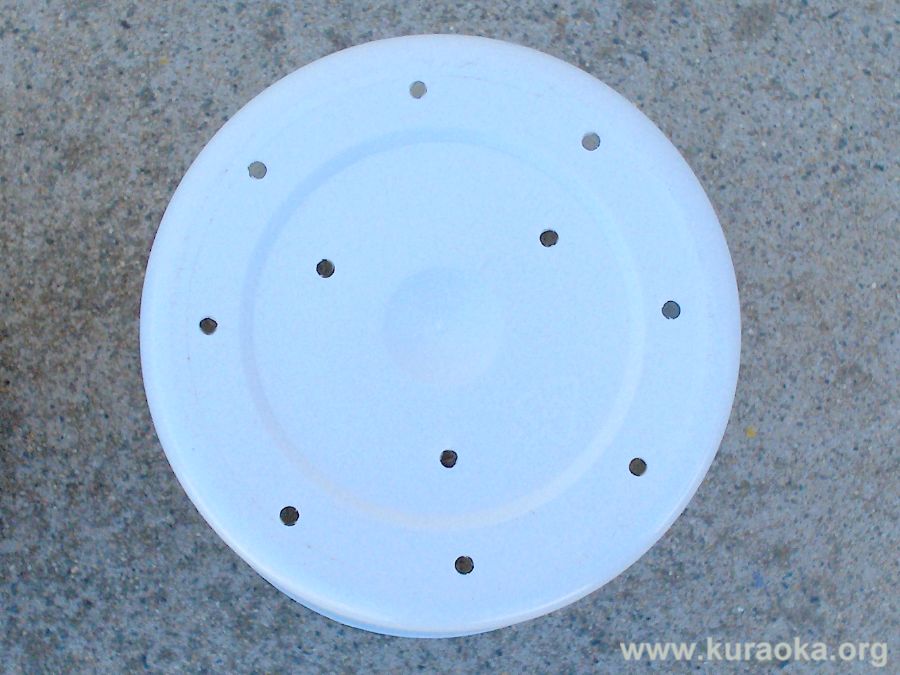
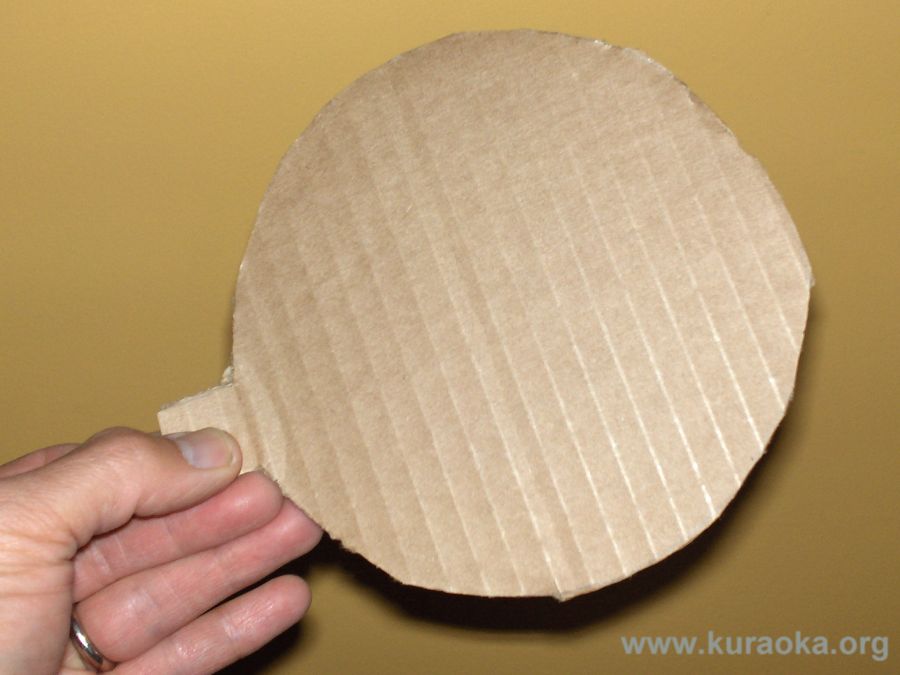
We made a template slightly smaller than the original plastic tub lid, and carefully cut out nine lids from cardboard.
Note the tab for easy lid removal. We could have just
drilled holes in the plastic container lids, but the open holes attract tiny flies.
The cardboard lids fit snugly inside the containers, are dark, and yet let in
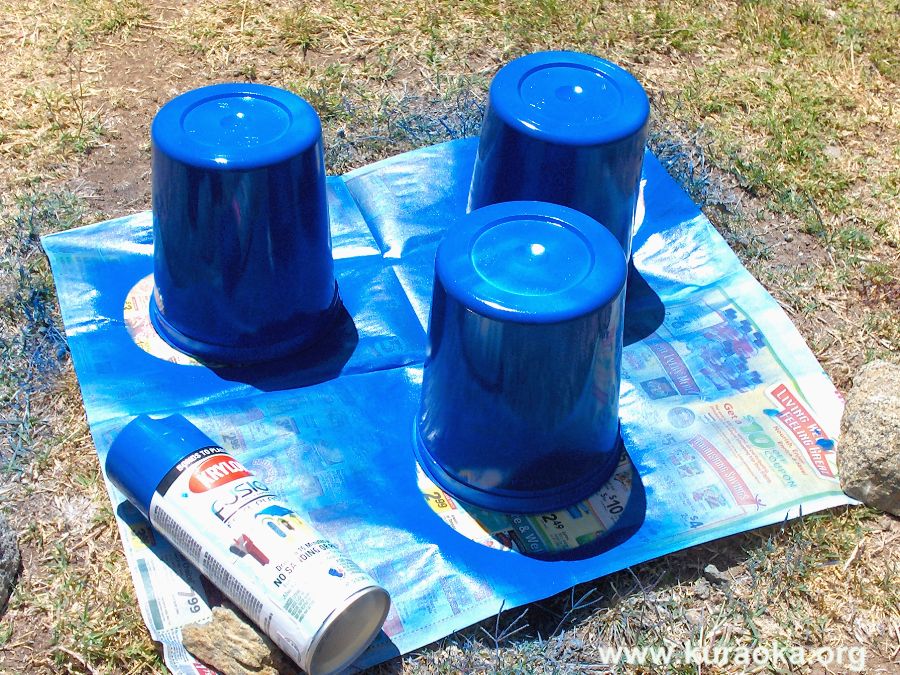
enough air for worms. The last photo shows the basic worm composting bin kit. We
also collected several good-sized rocks to use between the inner and outer
containers. Not shown: the paper towels we brought, one per worm bin.
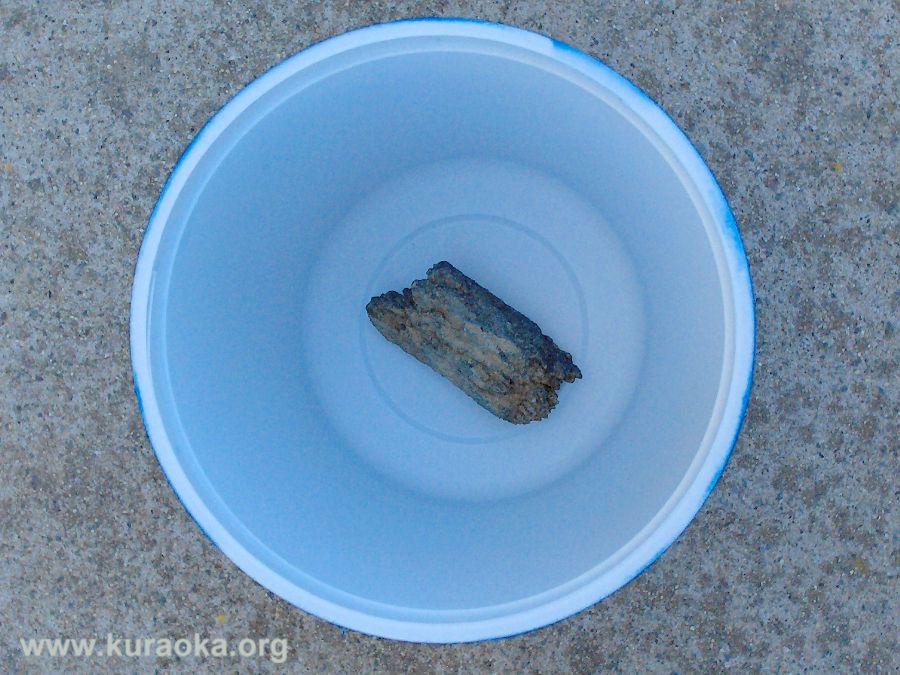
The kids followed along with each step. First, place a rock into the bottom
of the outer container, to allow better air circulation and drainage.
Then nest the inner bin into the outer bin. It’ll wobble because it’s resting on the rock, but that’s okay.
Place a paper towel into the bottom of the inner bin (to hold all that great worm poop and prevent worm escape).
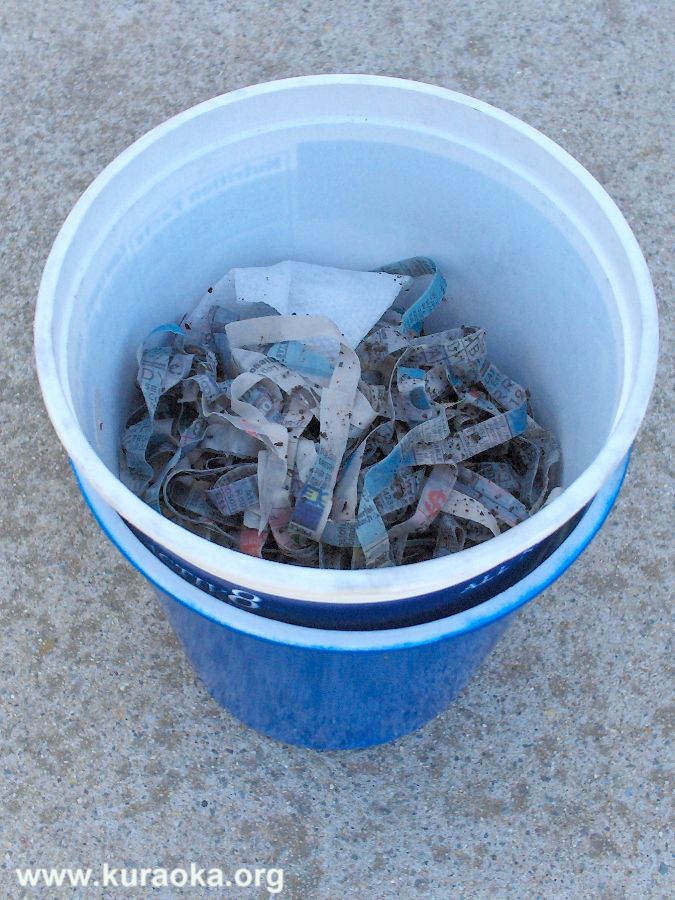
The kids dredged the shredded newspaper through a big bowl of water to wet the paper thoroughly. Then, they squeezed out the excess water, and put a good-sized ball of shredded newspaper into their inner containers. The kids fluffed up the shredded, damp newspaper to make a nice worm bed. By fluffing the shredded newspaper, you create lots of great nooks and crannies for the worms to wriggle through.
We dumped out the package of worms in a separate bin – the kids loved
that part. The worms writhed and wriggled and flailed. We handed each kid about five worms, which is actually
a lot for such a small
container. (If you click on the photo of the package the worms came in, you’ll
see that you should properly use two to three worms for each square foot
of growing space, but that’s in a garden not a worm composting bin which can be
more crowded.) Ondine handed out tiny bits of banana peel – roughly half the worm’s
weight in food, so not much at all – and the kids buried the food scraps in
various places in the damp newspapers. By this time, the worms were out of sight, burrowing deep into
their beds to escape the light. The worms will eat the damp newspapers as well
as the food. They eat their bed! Yes, that means they will eat through the paper
towel at the bottom, but like we said at the beginning, these are starter
bins, suitable for temporary worm housing only. If you have time, circles of
fabric work better and last longer than paper towels.
The kids topped their worm beds with a small
amount of soil, which we gathered from the park and moistened. This moist dirt provides
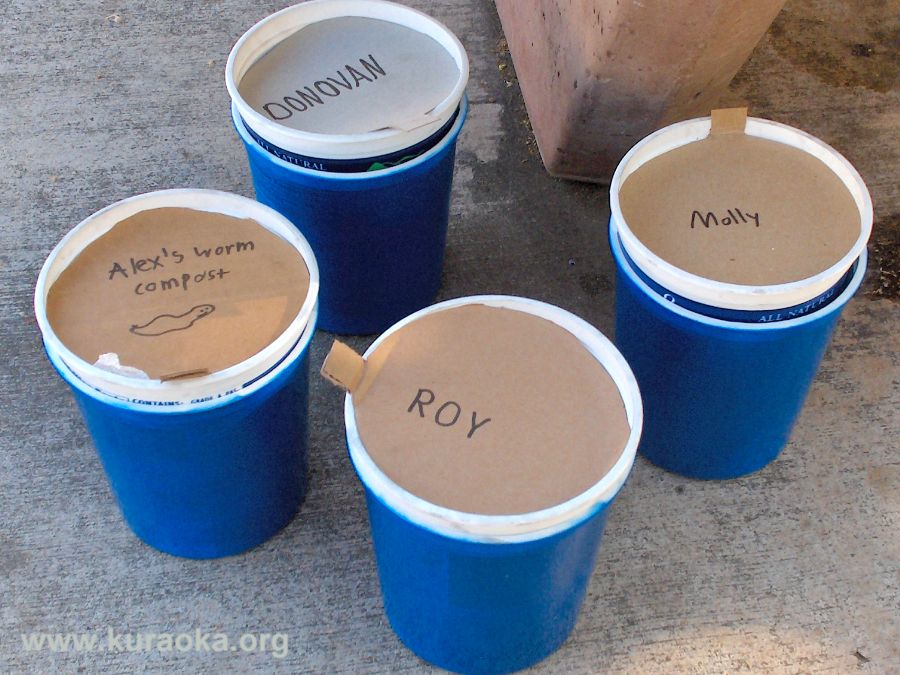
grit, which the worms need to eat because they lack teeth. The final step was putting on
the cardboard lids and writing their names!
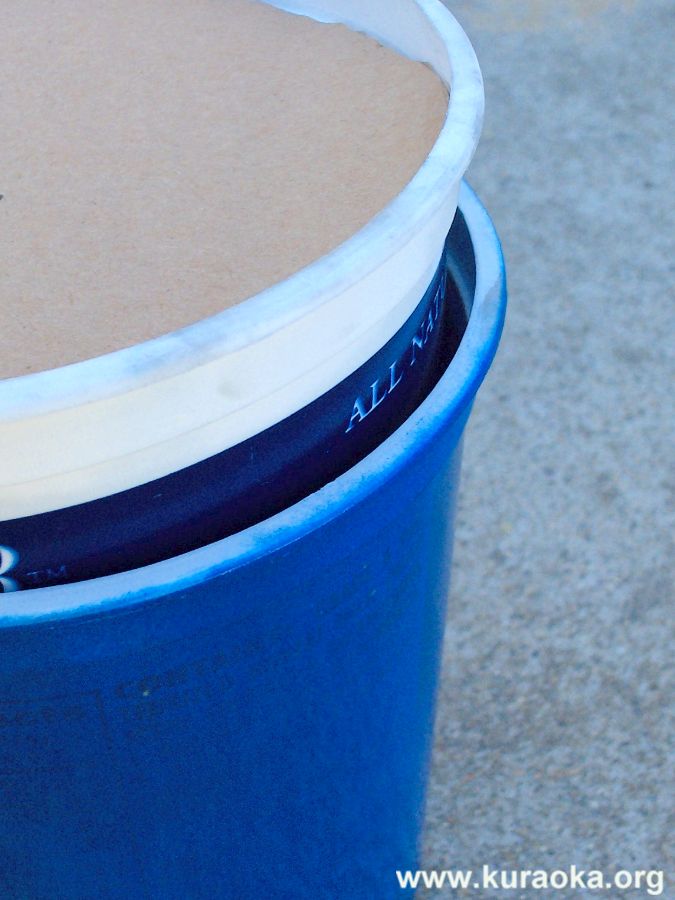
Here’s a close-up so you can see the gap created by placing the inner bin atop the rock – the rock props up the inner bin so there’s air circulation and the drained moisture doesn’t go stagnant.
Care and feeding. Healthy worms will eat roughly half their weight in food scraps every day. But, five worms do not weigh much at all. We’re talking like two small strips of carrot peel every few days, checking before feeding to make sure the previous food scraps are gone. They also like coffee grounds (just a pinch, or your bin will become too acidic), tea leaves, and crushed egg shells (which provides some needed grit). Citrus scraps, such as orange peels, are toxic to worms. By the way, the worms do taste their food, so you may find they prefer some food scraps to others. Do not feed your worms meat, fish, poultry, or dairy scraps. Also, don’t feed them junk food, non-biodegradable materials, or dog or cat poop!
Use a spray bottle to spritz the newspaper bed with water if it seems to be drying out a lot; you may need to periodically add more damp shredded newspapers as the old ones decompose and get eaten. Be sure to use the water that collects in the outer bin – just pour it on your plants!
If your worms are crawling up the sides of your bin, it may be too wet inside.
Keep your worm bin in the shade. The worms’ comfort zone is between 40-80 degrees Fahrenheit. They like it cool and dark and damp. So, don’t dump the worms into a regular compost bin, because the temperatures in there are way hotter than that!
One week later, Roy’s worm bin was worming away, so that’s a good sign. Remember: this is a temporary worm composting bin. It lets kids explore the principles of building a larger vermicomposting bin if they want; otherwise, they can simply dump the contents into their gardens.
We put the remaining 250+ worms into a much larger worm composting bin. Ondine found some great storage bins at Walmart for $3.50 each, and basically followed these same principles to create a larger home for our composting worms. The only difference, beside size, was that she cut a piece of fabric to use at the bottom of the inner bin – because really, the worms can eat through the paper towel. If cared for properly, the worm should live out their lives and even reproduce to maintain an ongoing little ecosystem that provides great worm compost for your garden!
Here are some good resource links for more information:
Earth Worm Digest
– a Cleveland-based non-profit organization with lots of worm information.
Canada’s Office of Urban Agriculture
– lots of great articles and links about “city farming.”
Solana Center for Environmental Innovation
– a great local San Diego resource.
RecycleWorks
– a program of San Mateo county.
To see what we’re up to now, check out our Weekly Family Journal, updated at least once a week since 1998!
Back to the Kuraoka Family main page, with more
stuff including travel journals!